
Adding states to an object
Introduction - Why Use States?
States in Dexr allow you to control how your 3D assets behave in the scene — without needing to write any code. By setting up states, you can:
- Show or hide parts of your model
- Move or rotate objects on command
- Play animations
- Trigger visual or functional changes based on user interaction
Examples of State Use
Product Assembly: Hide or reveal internal components step-by-step.
Training Simulations: Move machine parts to simulate operations.
Interactive Tours: Rotate objects or play animations when a user clicks a button or progresses through a level.
States are combined with events to update your 3D scene based on the learners input. For example you can trigger an event: "change state on this boiler to ON in the outcome of pushing the on button.
Preparing your objects in Blender
- Put your desired asset(s) into one collection - make sure they are separate objects

- Each asset you want to move, hide/unhide, or animate must be a separate object within the collection.
- Export the entire collection as you normally would.
- You can parent and nest objects unlimited. As long as they are separate objects it should work.
On the Dexr Platform
- Go to your asset library
- Click on your asset to open it's detail panel
- Go to the Interactivity tab.
- Click Add New State.

- Choose an Action Type (e.g., Hide/Unhide, Move/Rotate Object, Play Animation).
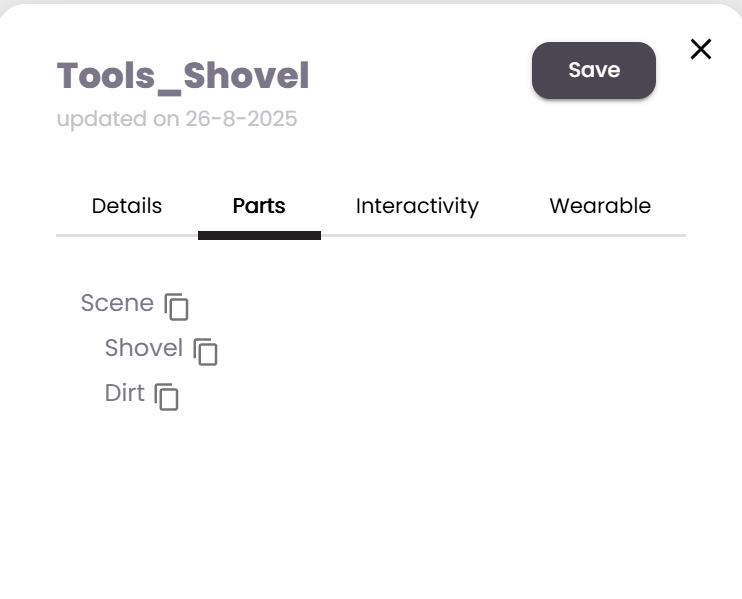
- In the Target field, enter the exact name of the object you want the action to affect.
- Tip: Use the Parts collection to find object names. Click the square icon next to a part to copy its name.
- Tip: Use the Parts collection to find object names. Click the square icon next to a part to copy its name.
- You can include multiple changes in a single state (e.g., move one object and hide another).
- Give the state a clear, descriptive name for easy reference later.
In the lesson editor
- Drag your asset into the scene.
- Right-click the asset and choose Change State.
- You can also assign states within Level Steps using the Set State event.
Common Mistakes to Avoid
- Using a single mesh for multiple interactive elements
- Split each interactive element into separate objects in Blender.
- Misspelled or mismatched object names
- Always copy-paste names from the Parts tab to ensure accuracy.
- Forgetting to name your states
- Give each state a clear, logical name for easy debugging and reuse.
- Trying to use modifiers or parenting that don’t export properly
- Apply all modifiers and avoid complex parenting
- "I can't see my states in the 3D editor!"
- unfortunately, you need to refresh the level by refreshing the browser or by close & opening the level, for your asset state changes to load.
Final Tips
- Think in actions: Break interactions down into simple state changes (e.g., rotate knob, hide panel).